omnitype team creations
omnitype team creations


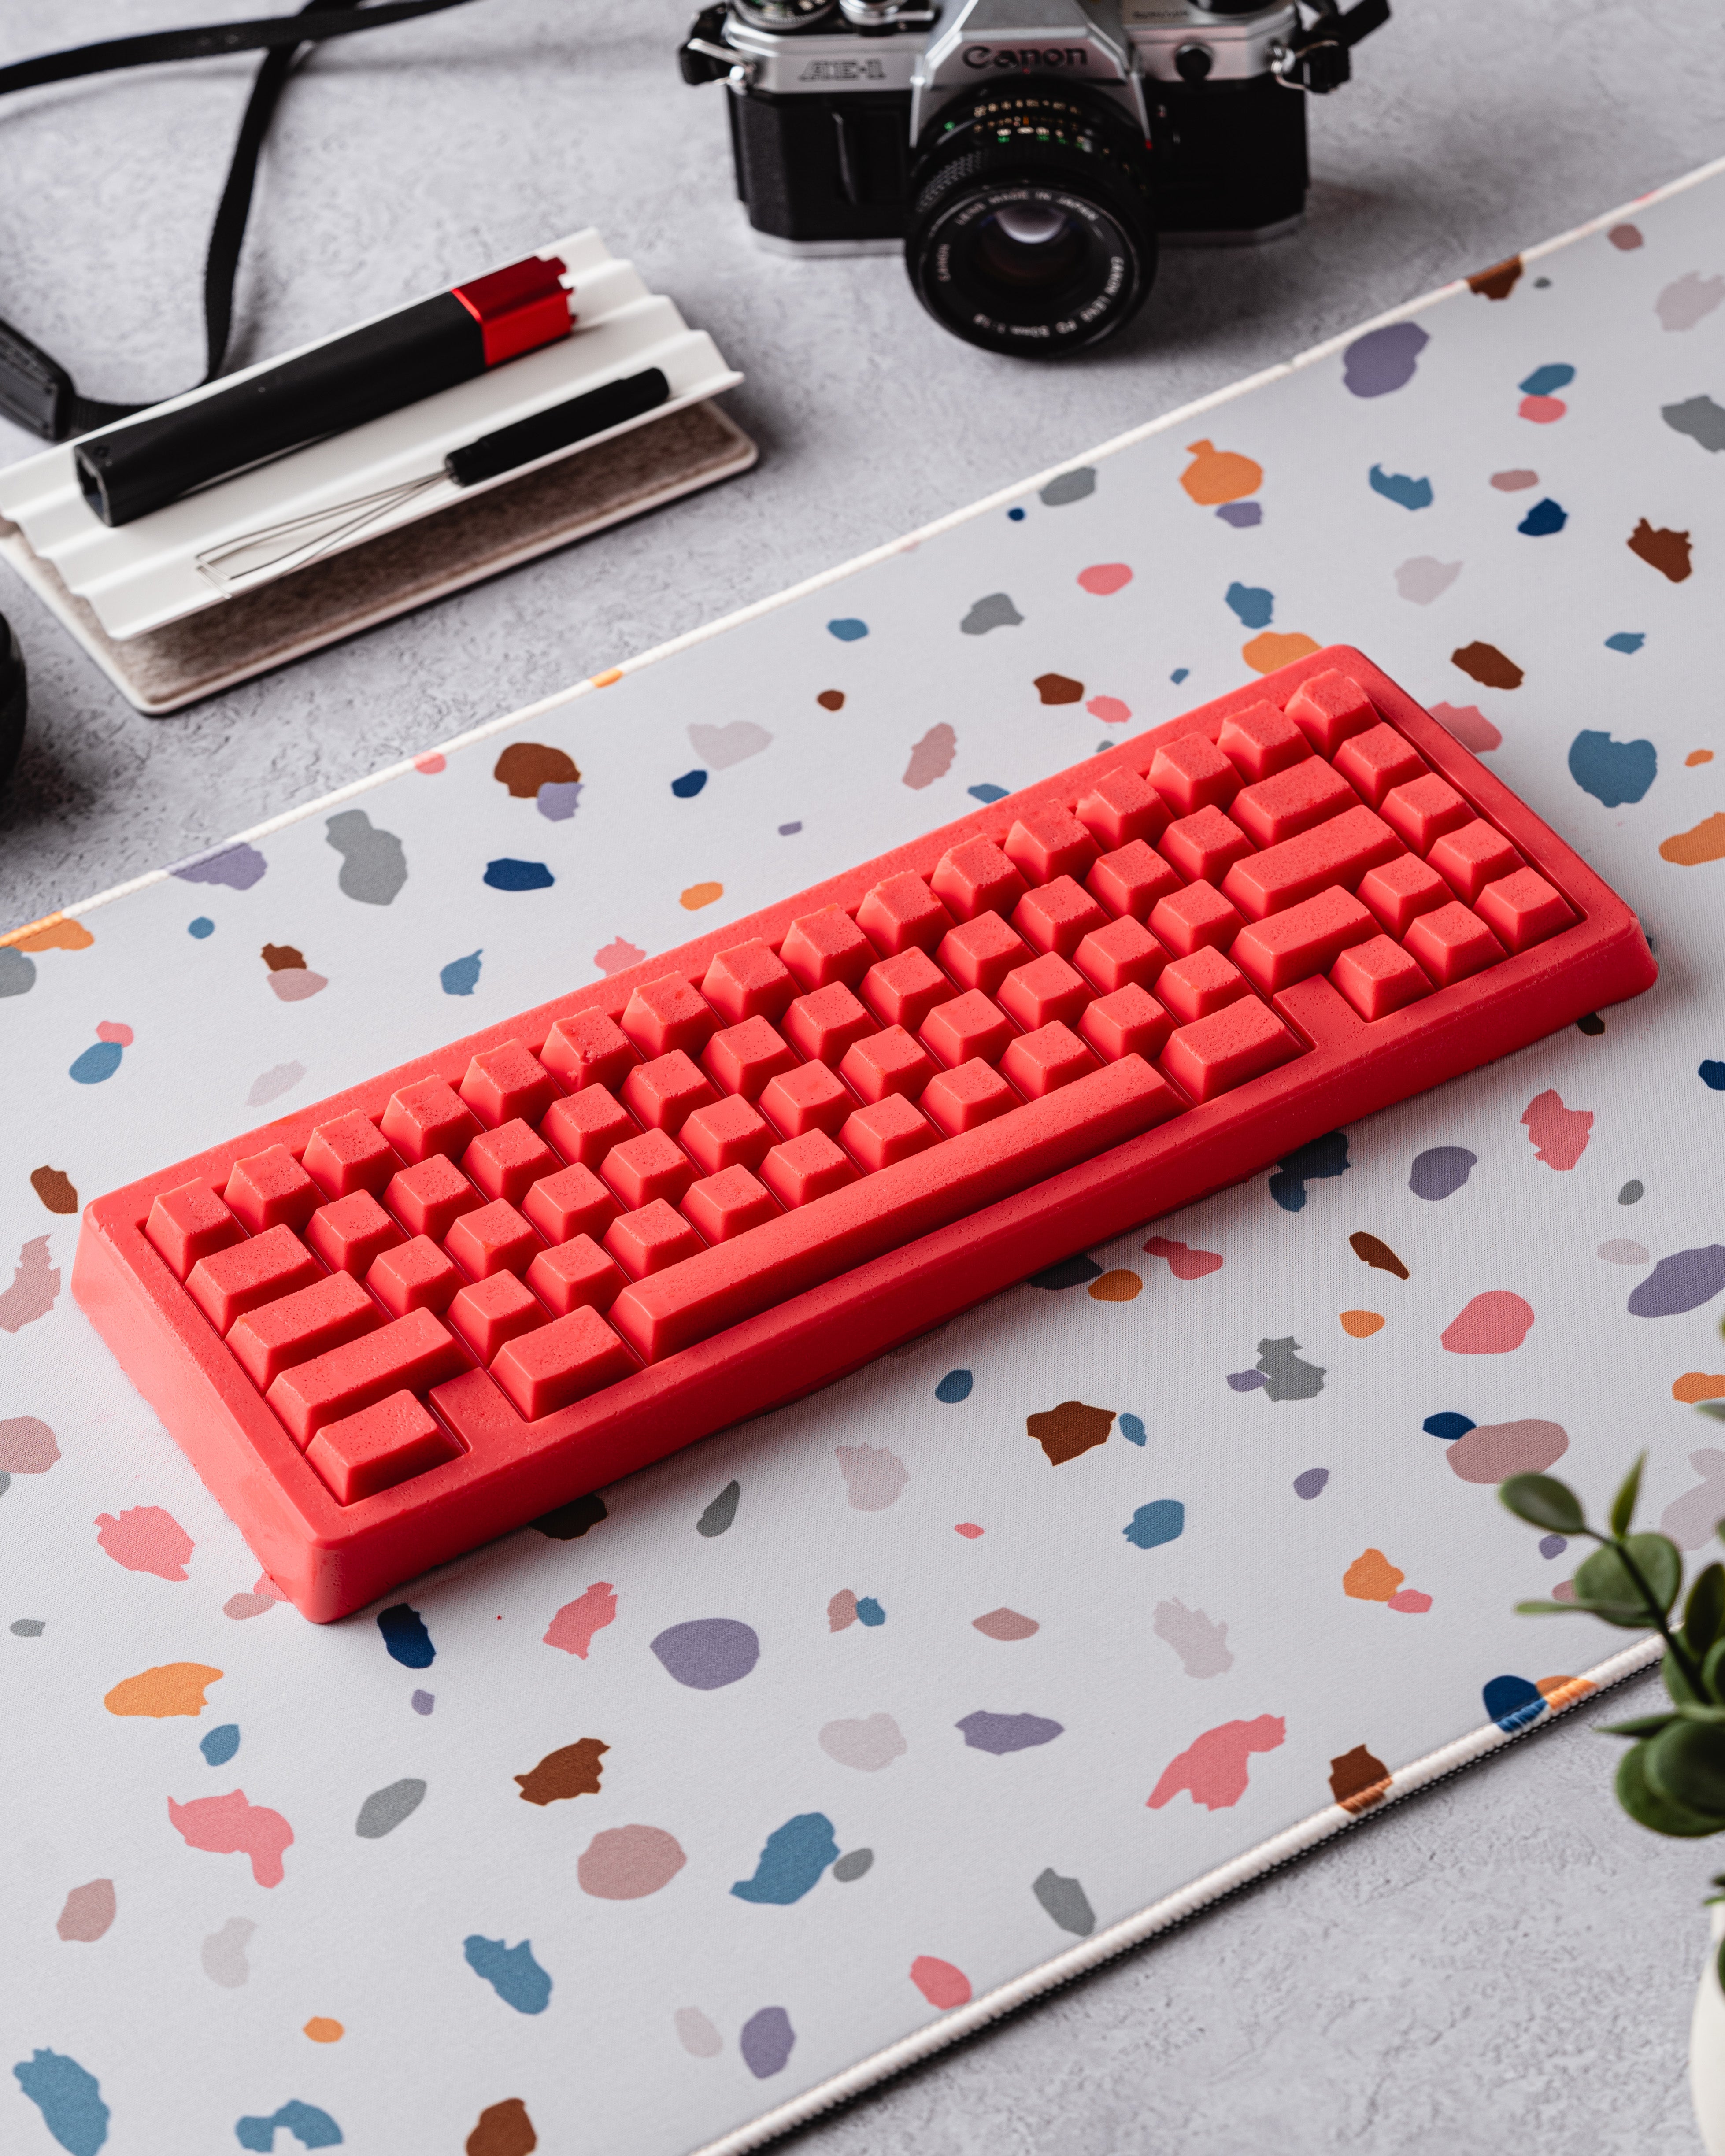
Bauer Lite: Maker's Mold
This is a real product
Now you can finally eat your keyboard—and not just metaphorically. The Bauer Lite Maker's Mold lets you recreate our iconic board in chocolate, ice, gelatine, soap, wax, resin, or whatever else you’re bold enough to pour into it.
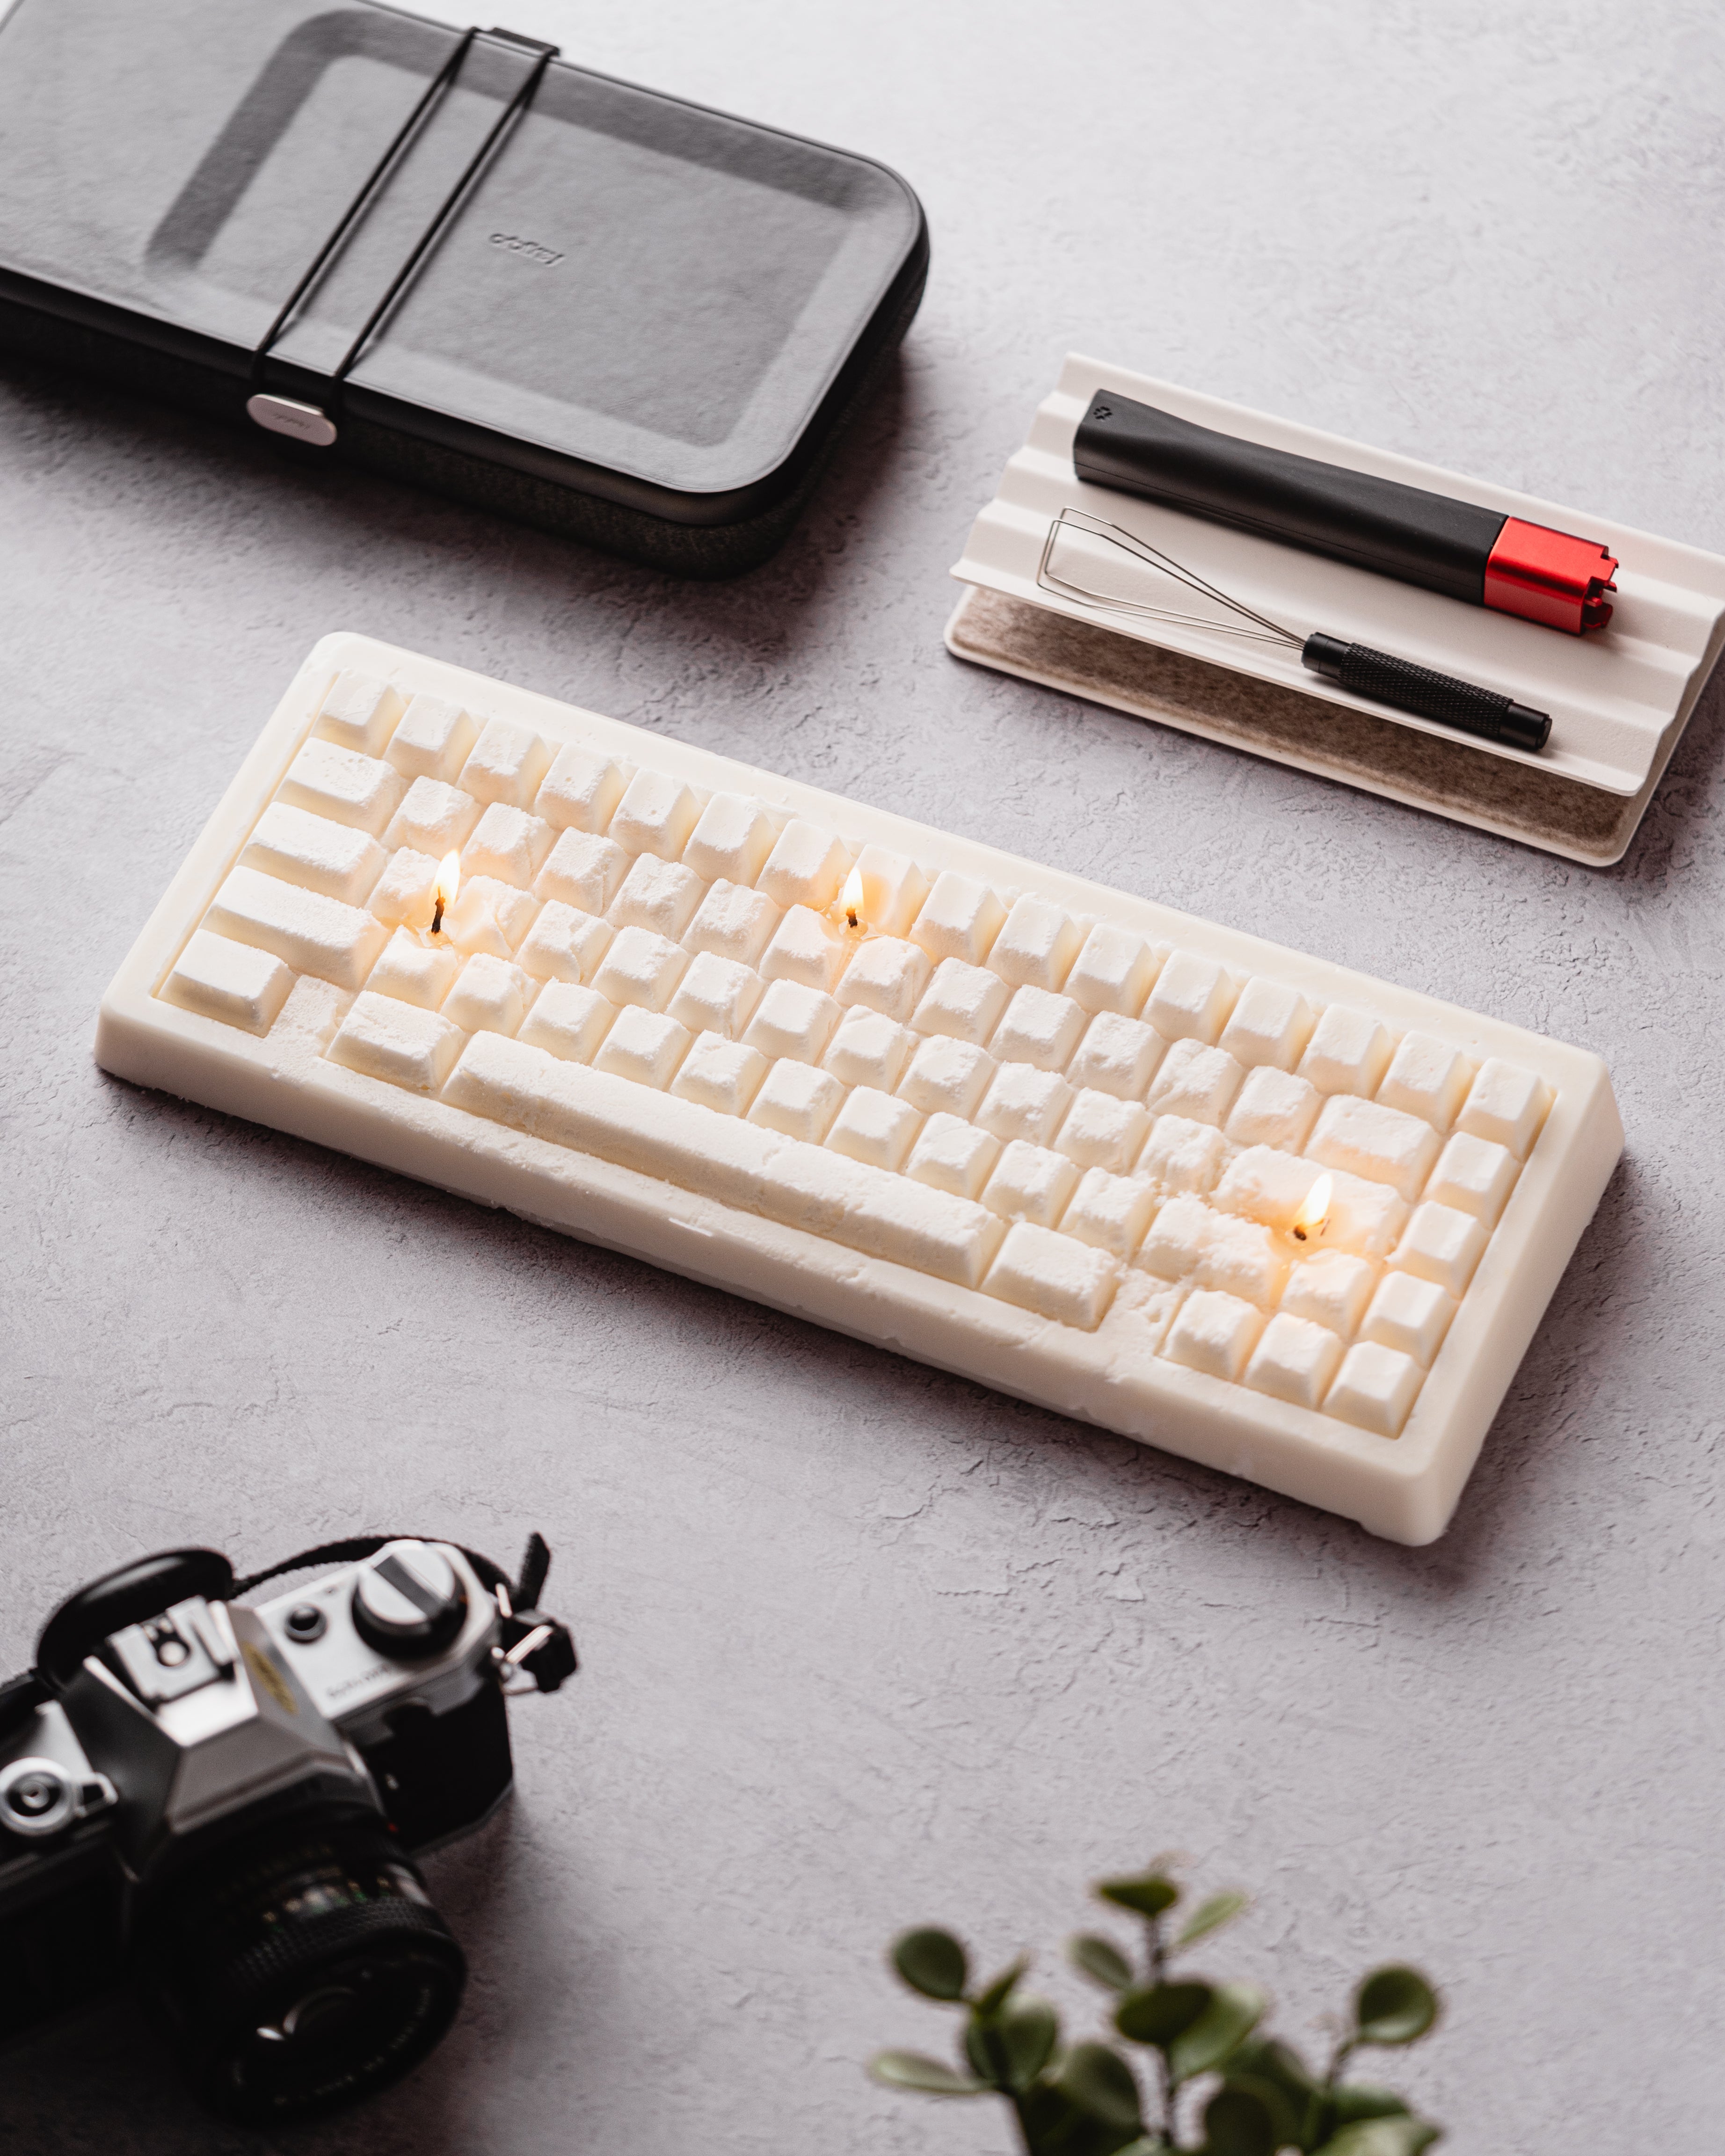
Made from durable food-grade silicone, this mold is oven-safe, freezer-safe, and dishwasher-safe. Whether you’re baking up a candied Bauer or sharing a chocolate Ba(ue)r with a special friend, this mold is your golden ticket to functional impracticality.


From Chocolate to Cheese Biscuits: We Tried It All
This mold was designed with a high level of detail and extra thickness to support the weight of poured materials. As a result, achieving a perfect end result can be challenging depending on the material used. Variations in success and imperfections are to be expected, and we encourage users to approach the process with creativity, a sense of humor, and a spirit of experimentation.
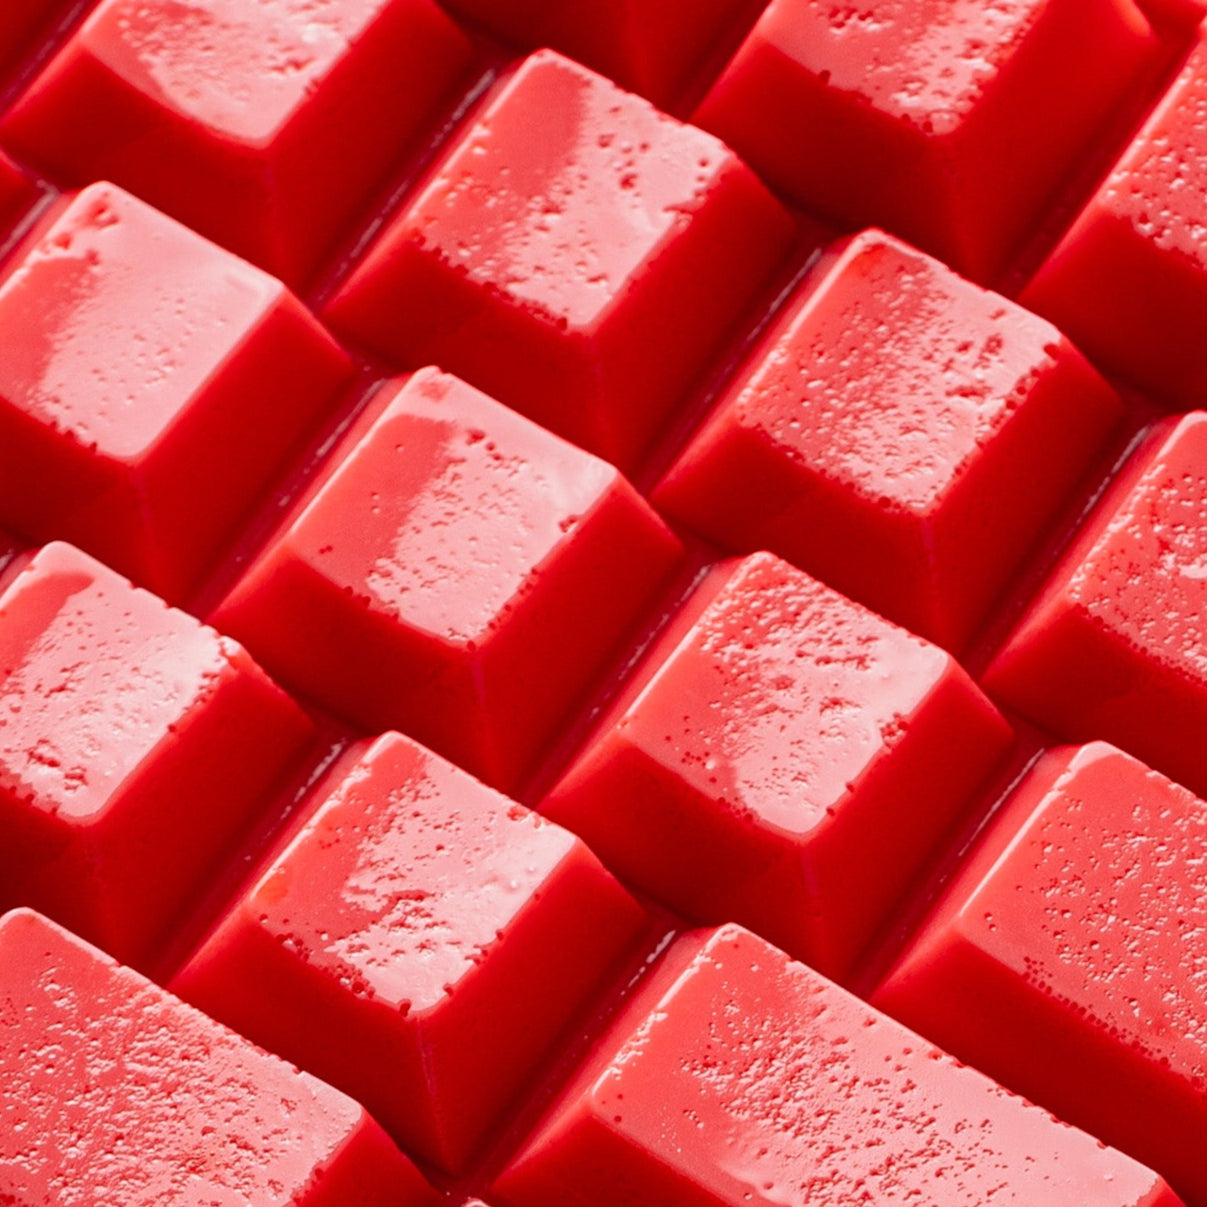
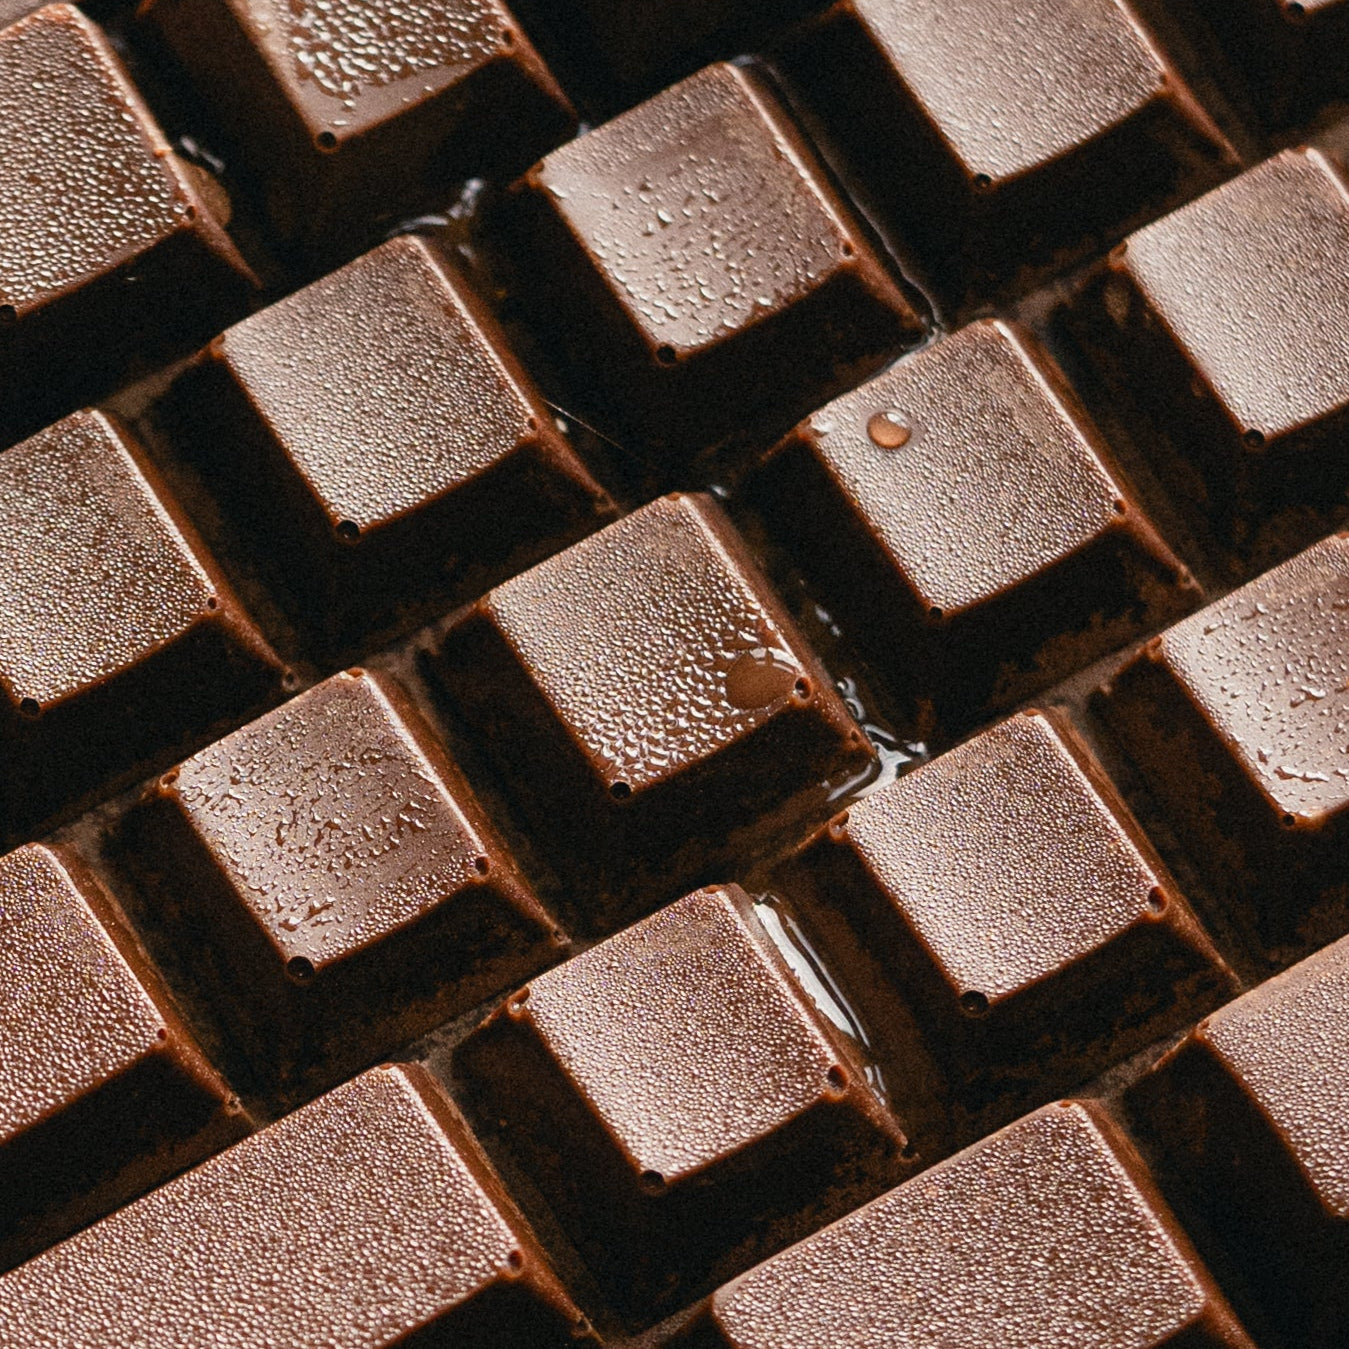
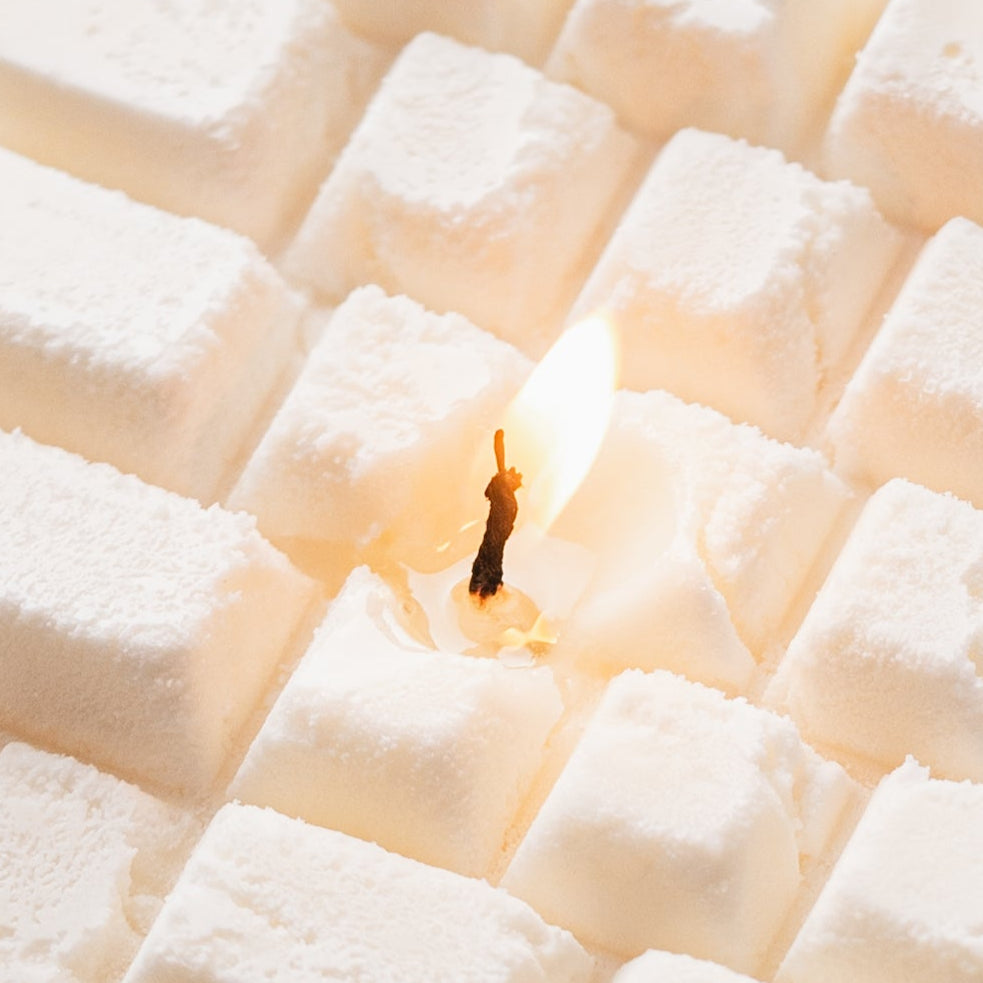
The images shown above are real photographs of actual items made using the Bauer Lite Maker's Mold. Over the course of two days, we conducted a variety of tests using different materials, including chocolate, ice, hard candy, wax, gelatin, cheese biscuits (yikes), and more to explore the mold’s versatility. The recipes below were testing and tweaked many times by Omnitype team members to give you the best success with this particular mold. We are excited to see what else can be done with it once it is in the hands of our amazing community!
(Up to 482°F/250°C)
RECIPES
Easy Difficulty
About 15 seconds prep
Makes 4 cups total
––––––––––––––
Need:
Freezer
––––––––––––––
Ingredients:
Water
––––––––––––––
Instructions:
- Fill with water
• Fill mold with water to fill line. (do not fill to the top of the mold) - Cool and Demold
• Freeze overnight until fully frozen.
• Carefully unmold by pulling long sides outward.
Easy Difficulty
About 15 min prep / 1-2 hours to cool
Makes 4 cups total
––––––––––––––
Need:
Microwave
––––––––––––––
Ingredients:
1200g (42.3 oz) compound chocolate
(ex: Ghirardelli melting wafers)
––––––––––––––
Instructions:
- Melt the Chocolate
• Place all 900g of chocolate in a large microwave-safe bowl.
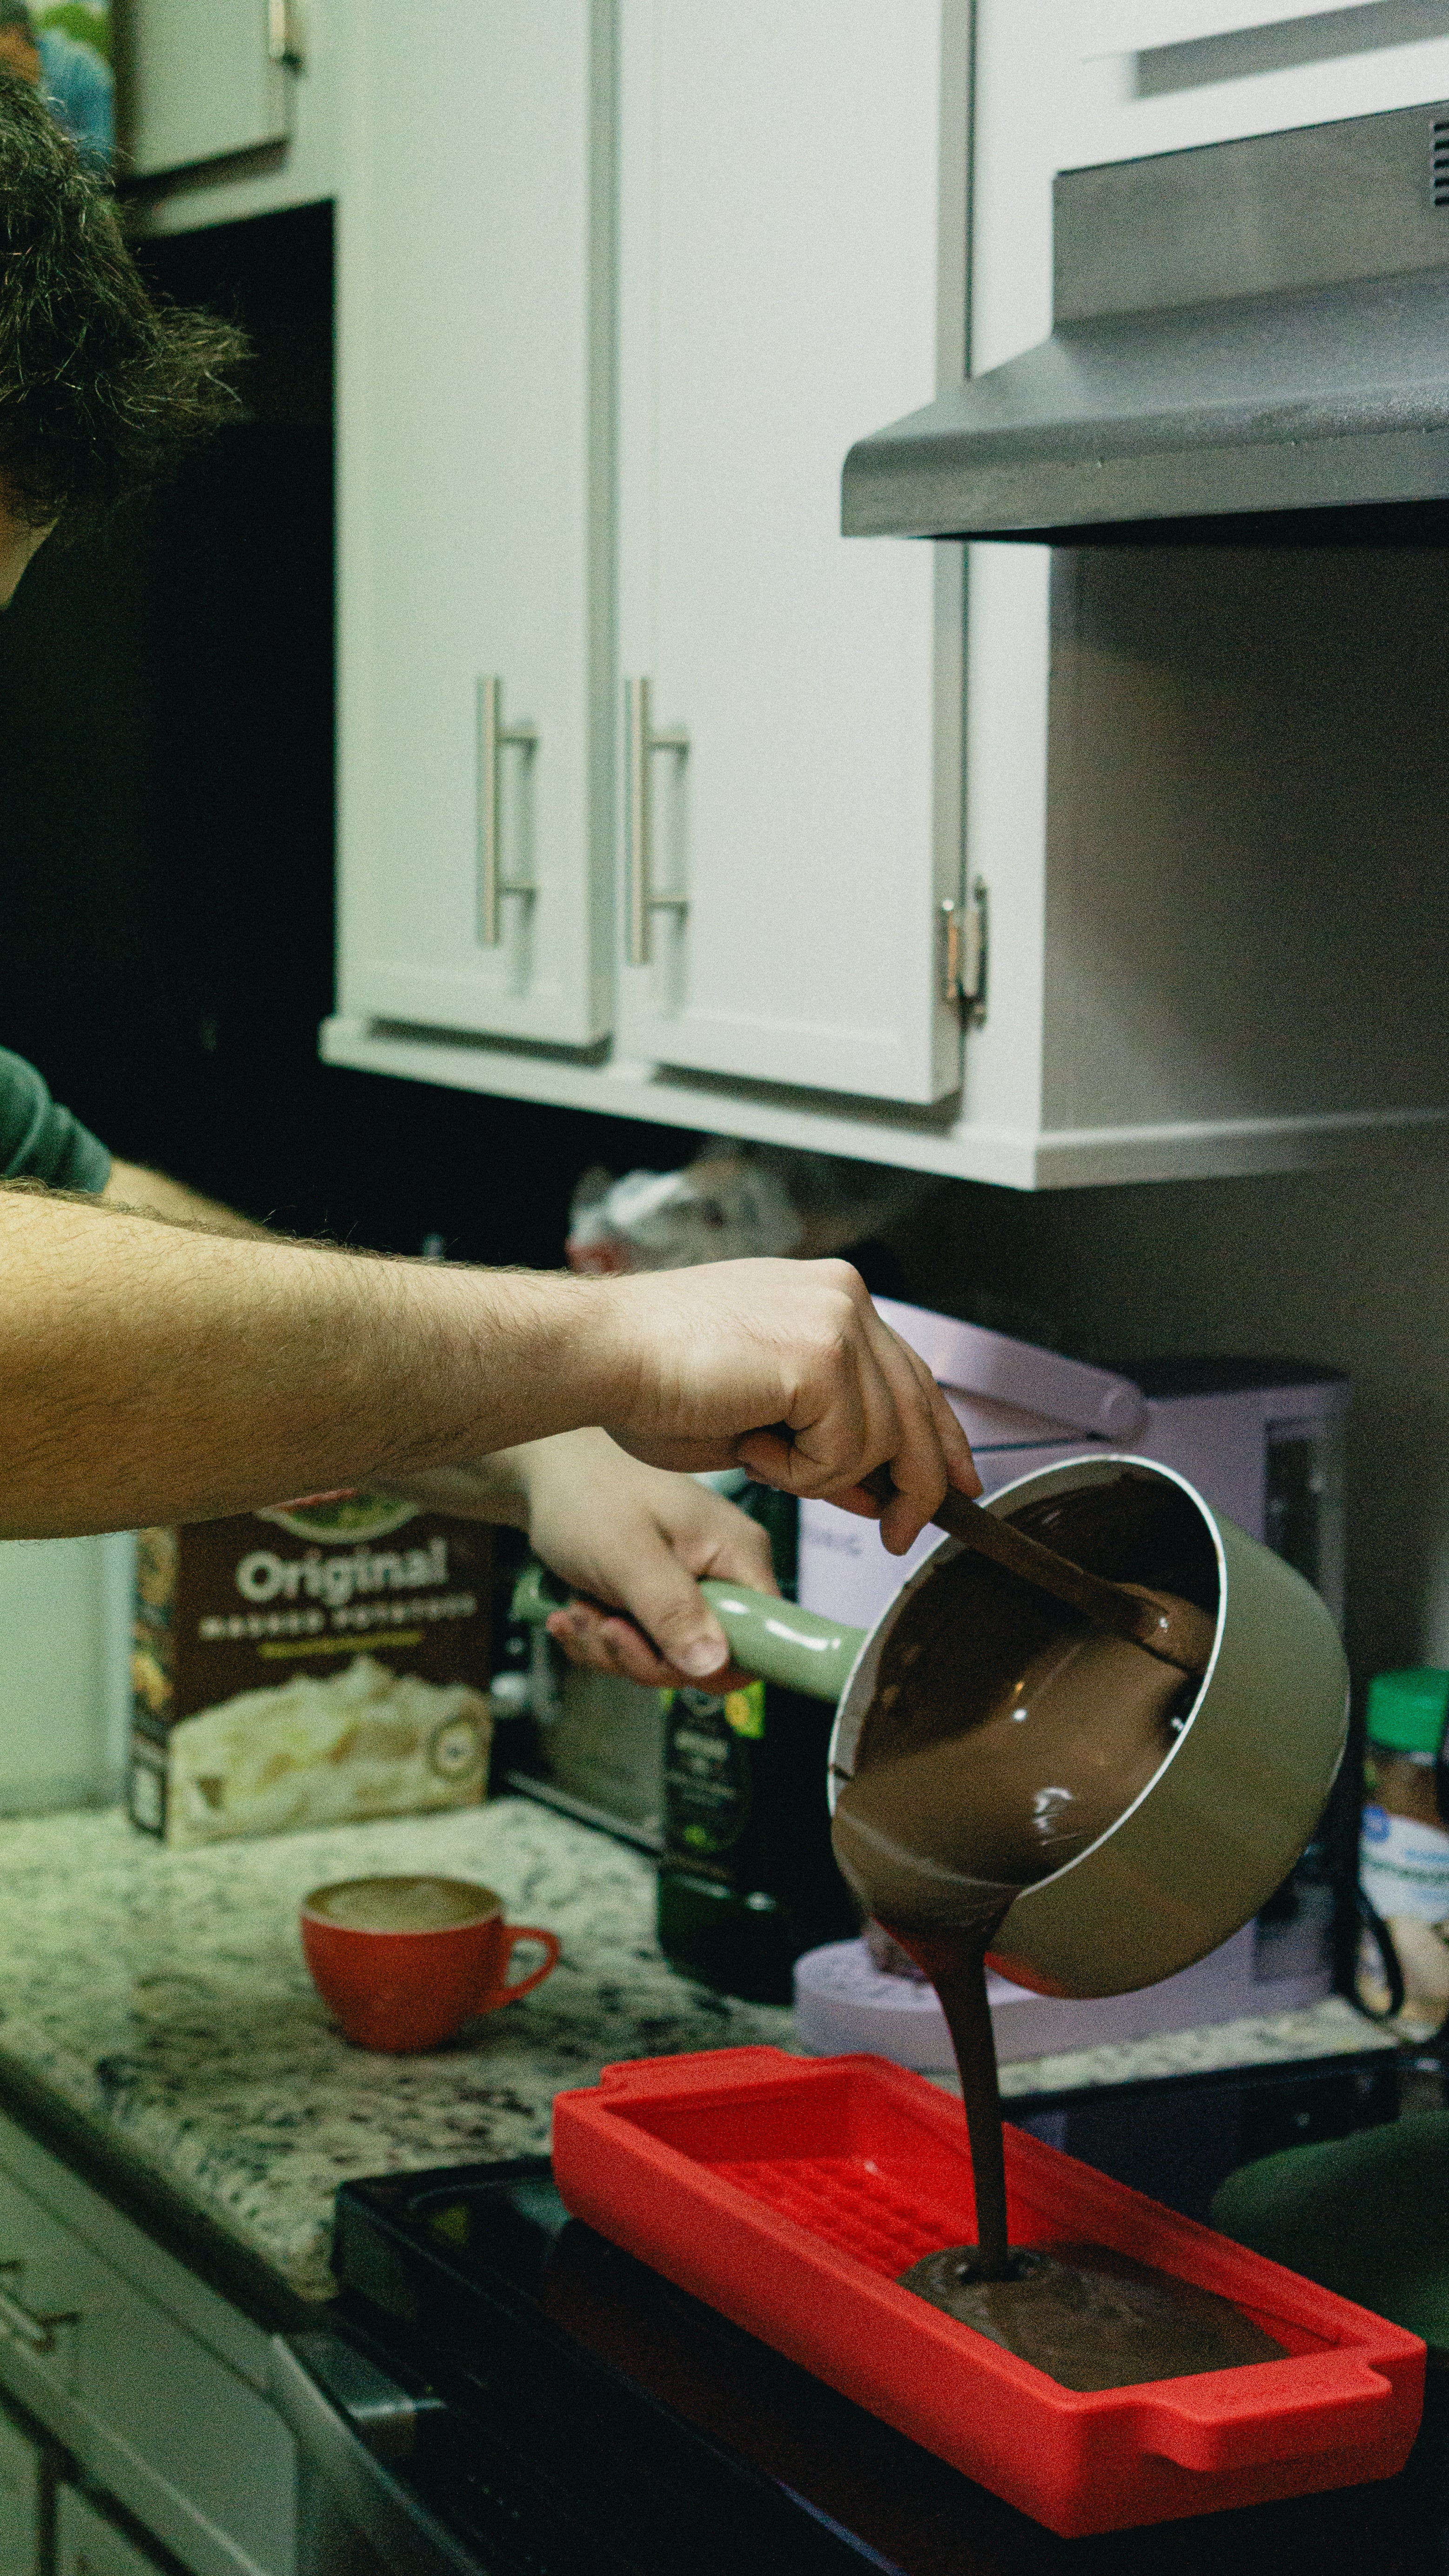
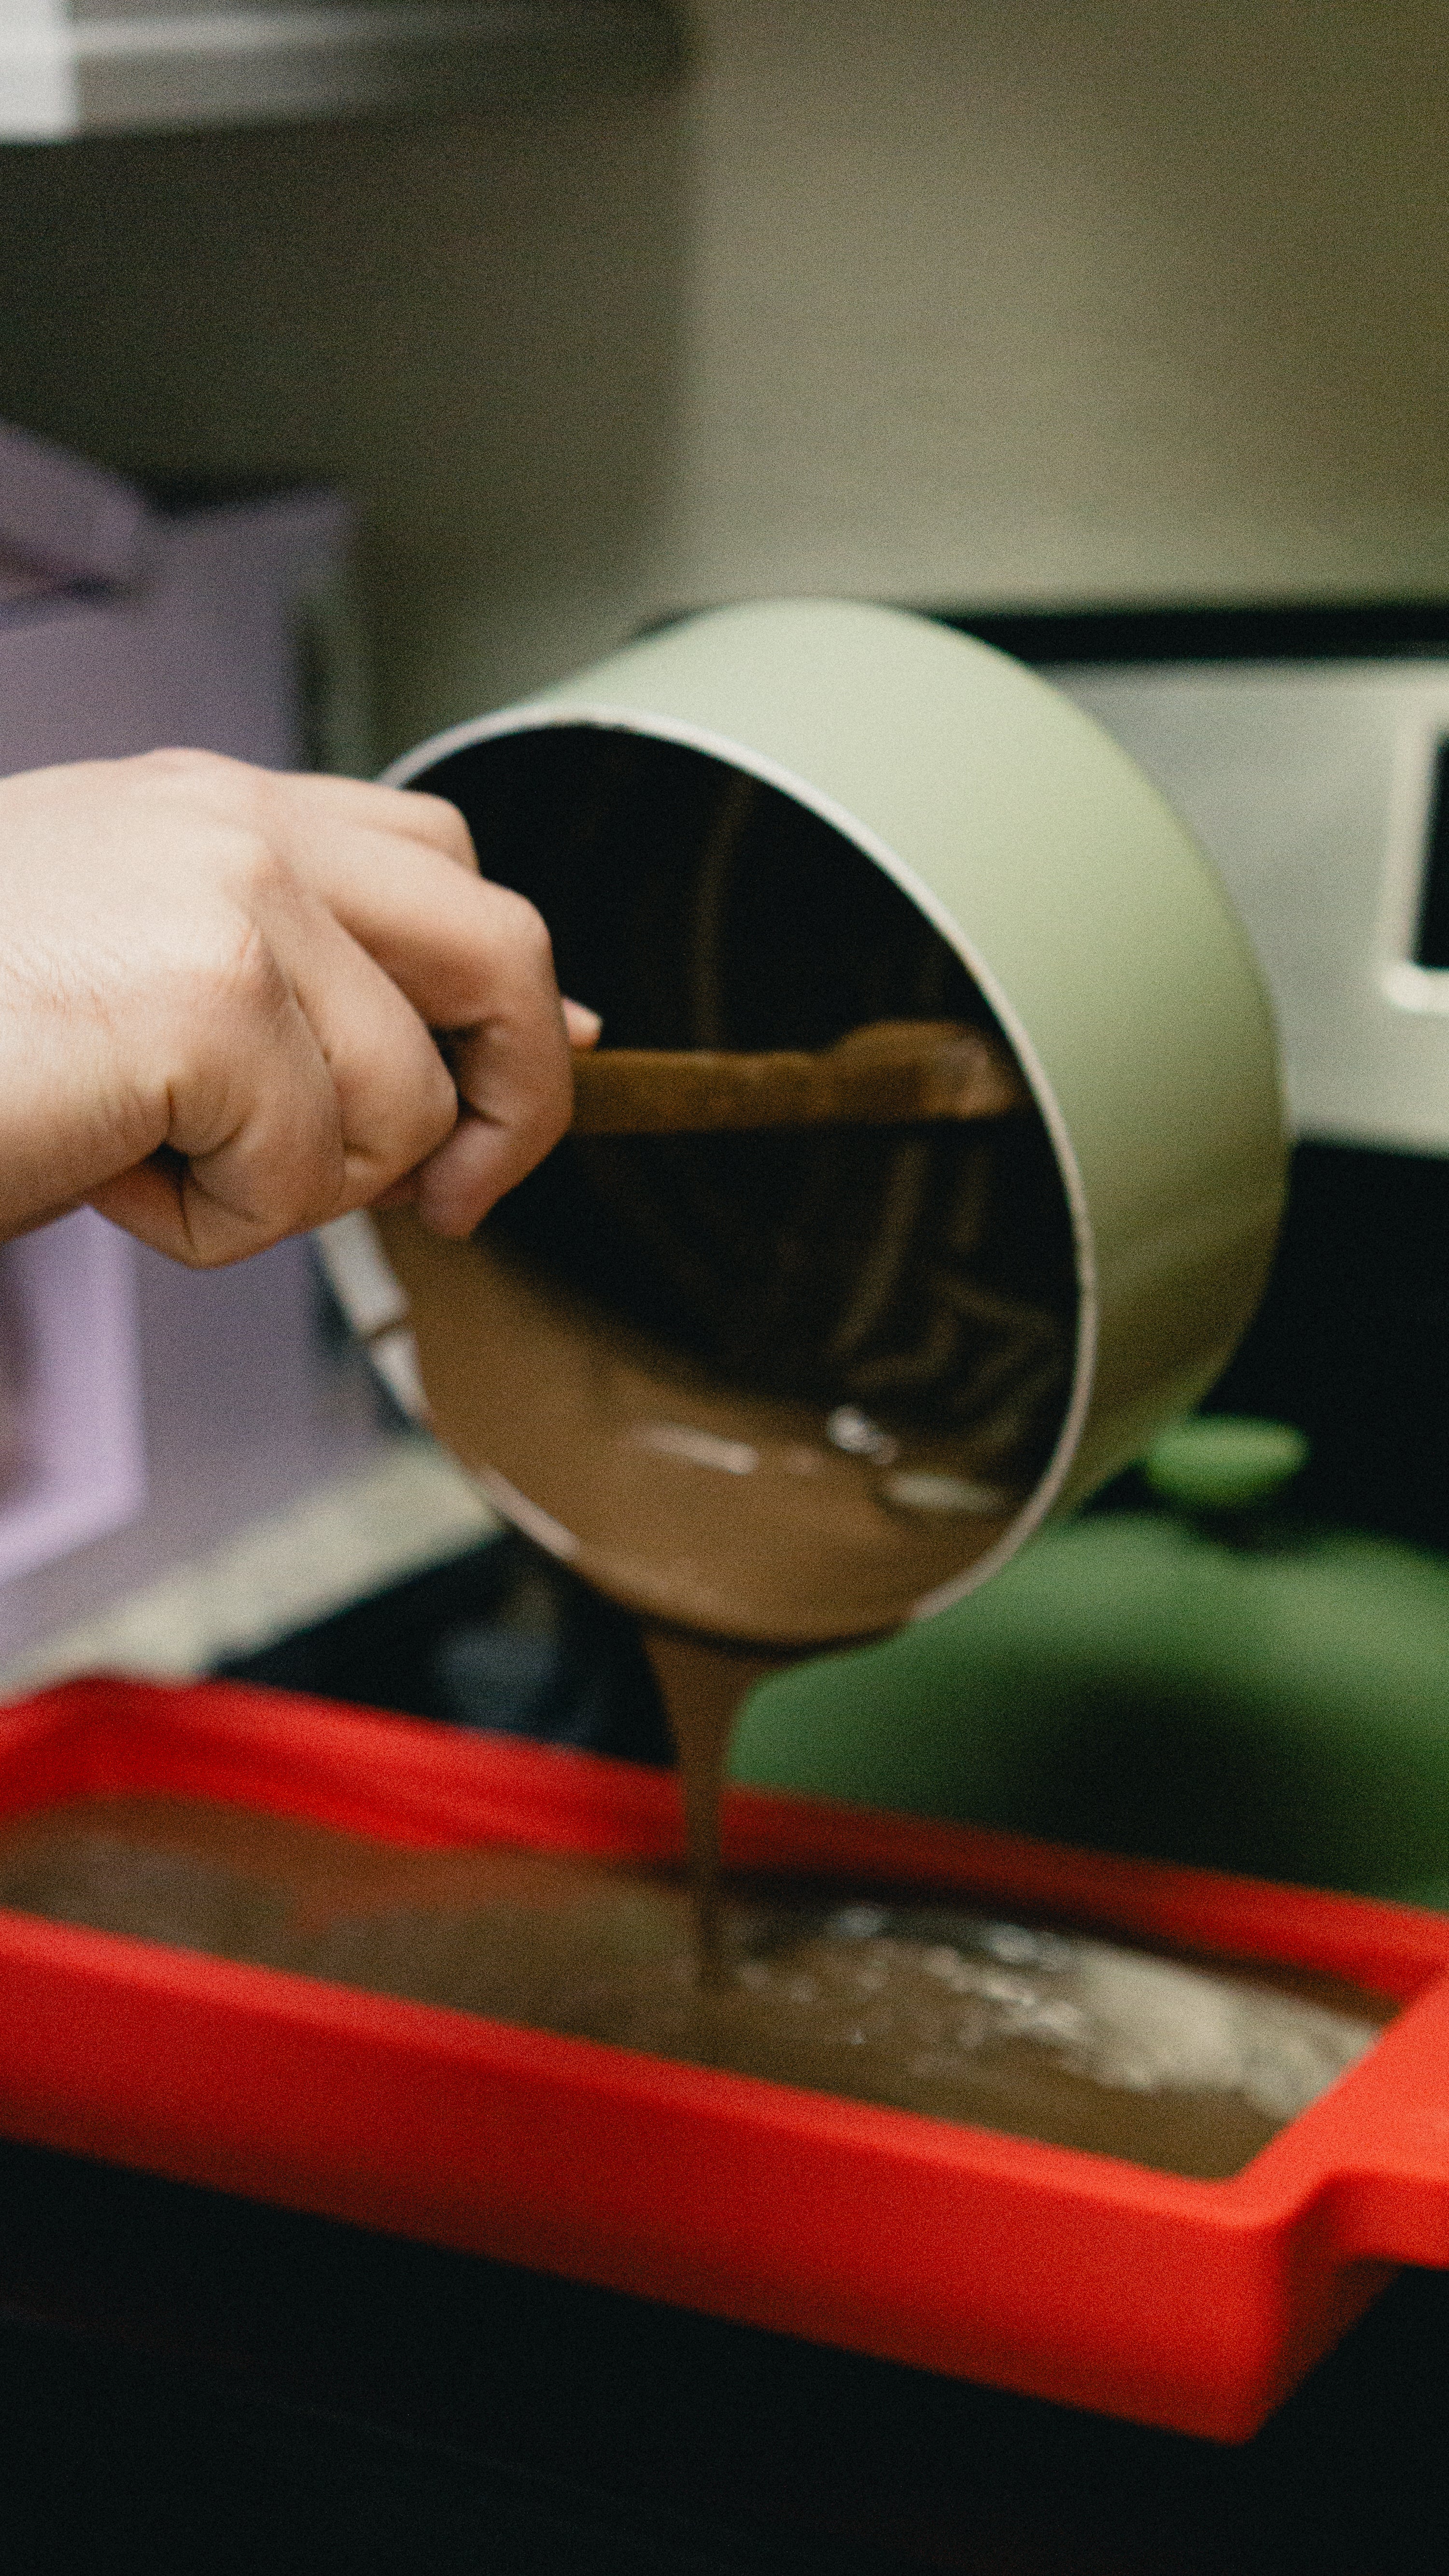
• Microwave in 30-second intervals, stirring between each, until smooth and fully melted. (or use a double boiler over low heat). - Pour and Tap
• Carefully pour the melted chocolate into your mold. (do not fill to the top of the mold)
• Tap the mold gently on the counter to eliminate air bubbles, especially in detailed areas. - Set
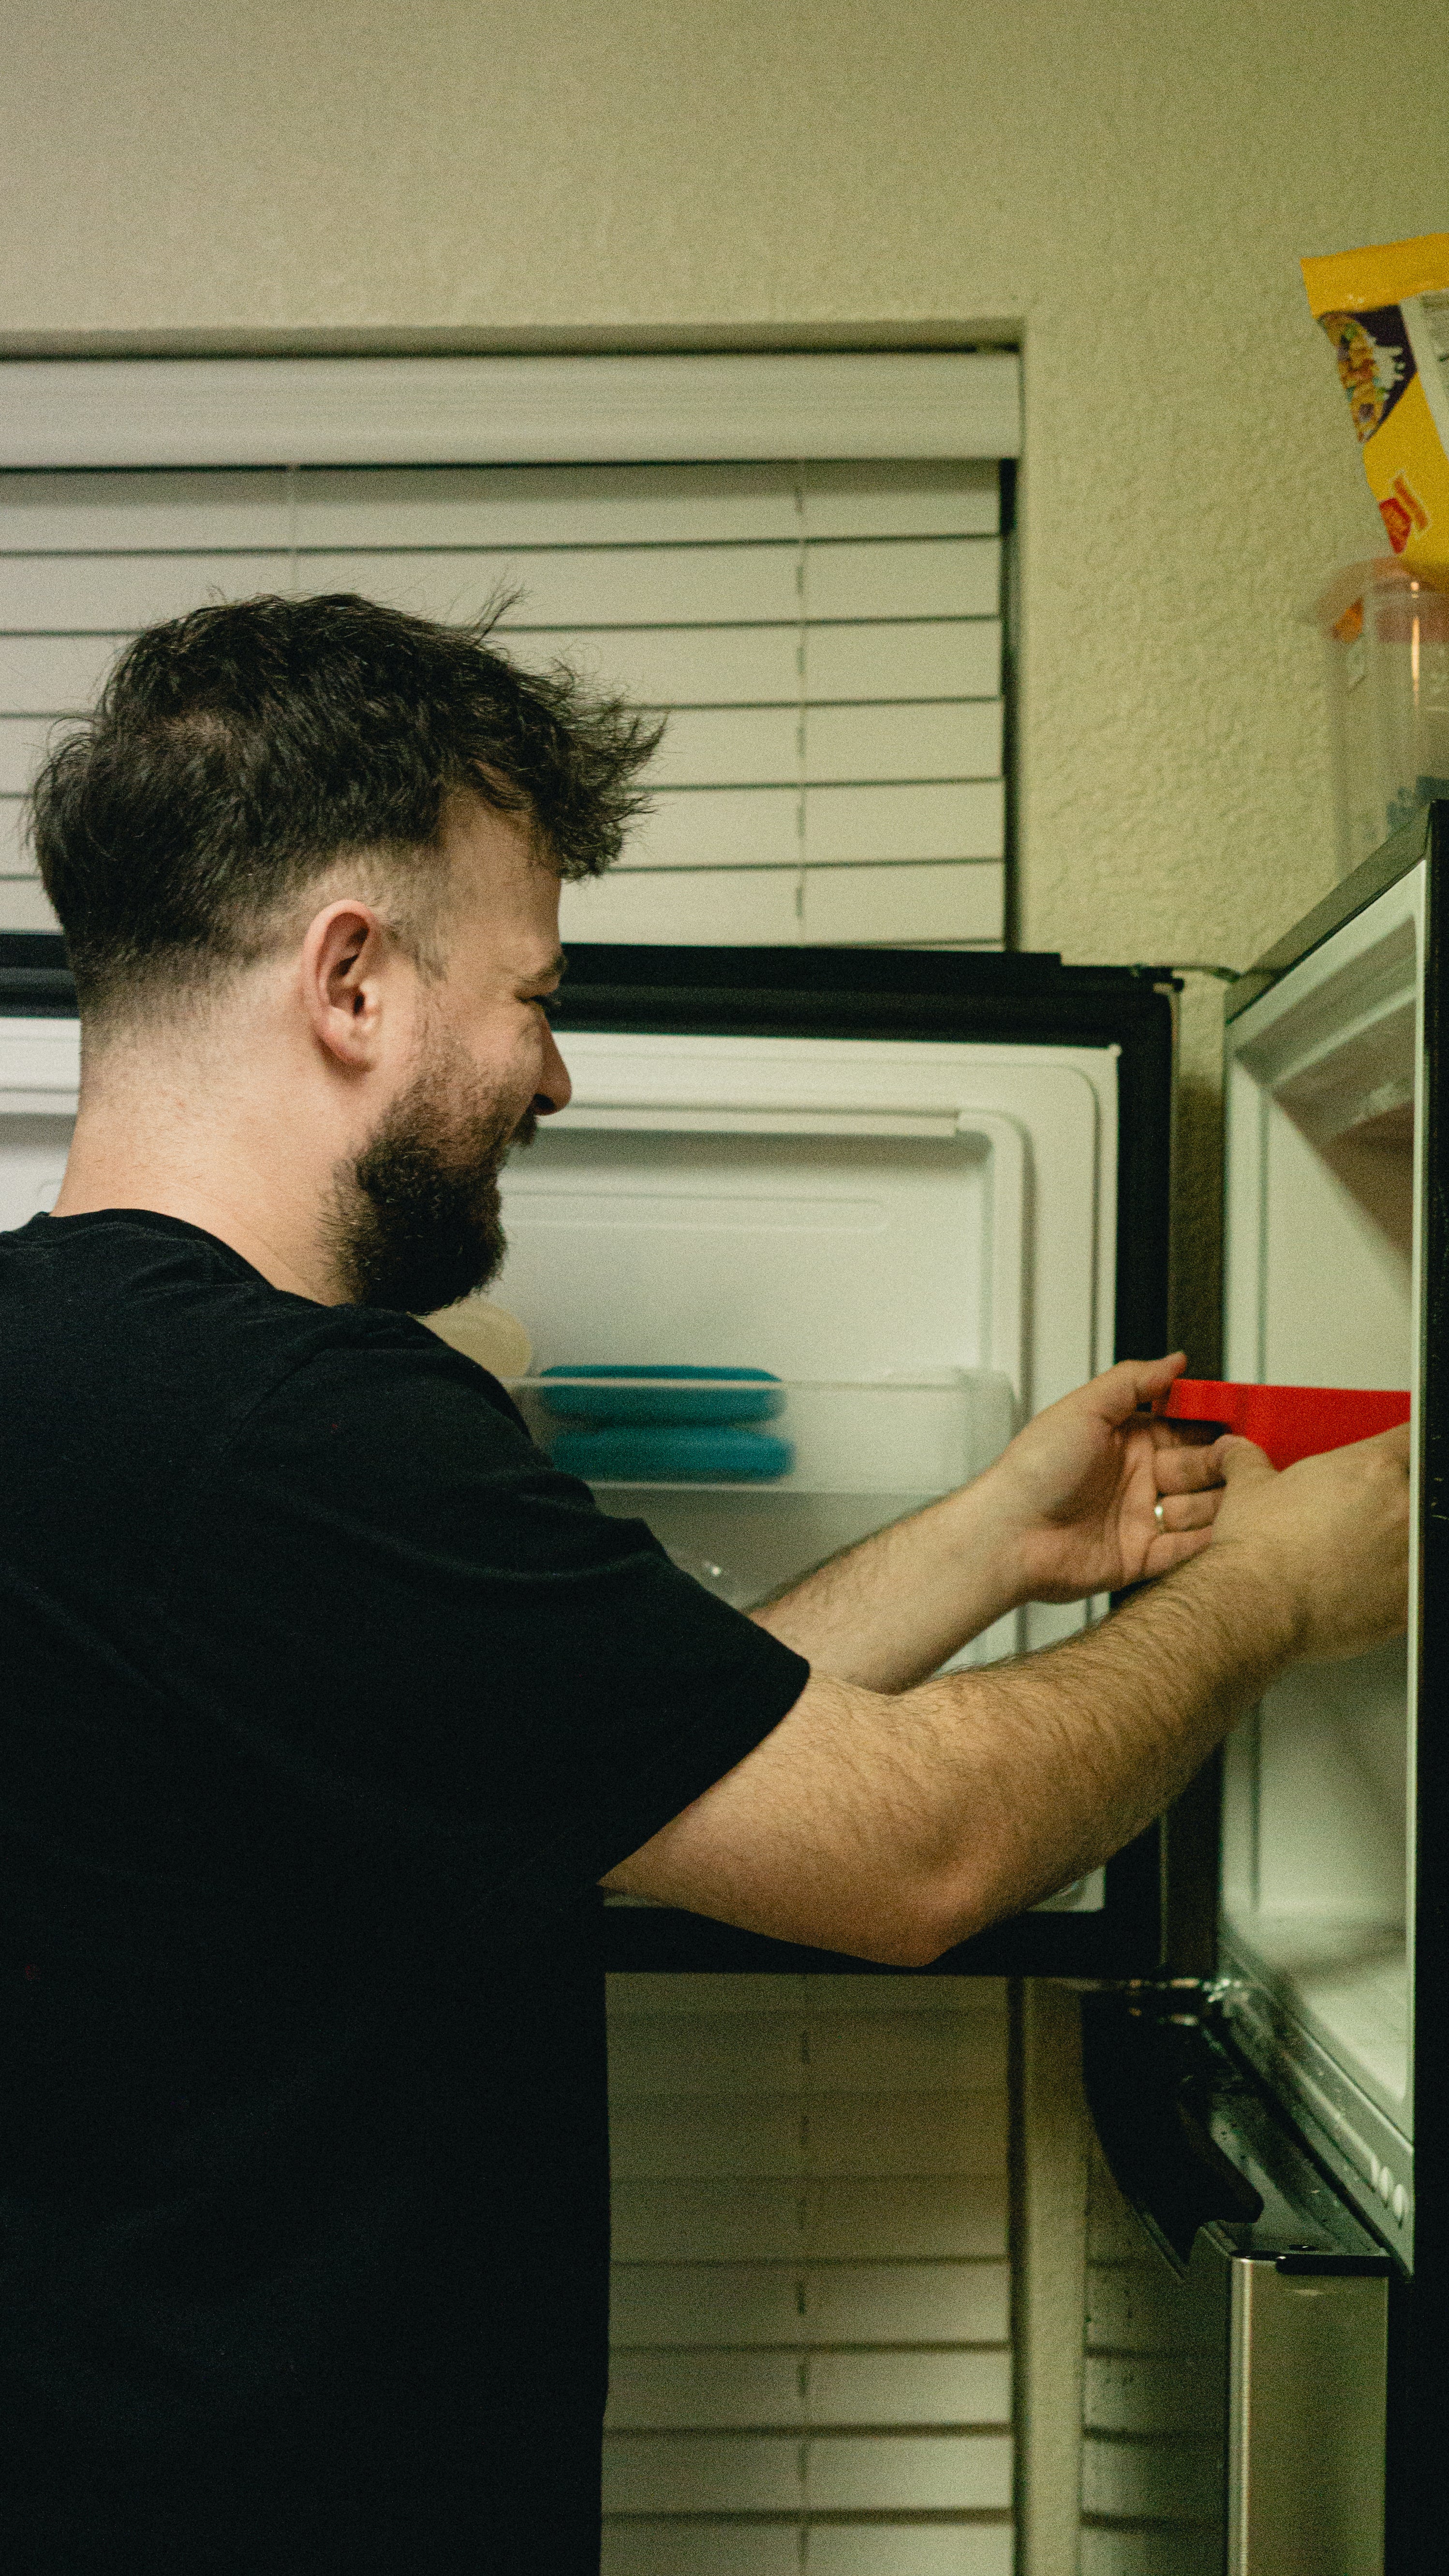
• Allow to set at room temperature for about 2 hours, or refrigerate for 30-45 minutes until firm.
Do not freeze, as condensation can form on the chocolate. - Unmold
• Invert onto a plate.
• Pull outward on the long sides of the mold to make sure the chocolate clears the arches in the mold.r
Easy Difficulty
About 25 min prep / 4-6 hours to cool
Makes 4 cups total
––––––––––––––
Need:
Pitcher or Double Boiler
Stove
––––––––––––––
Ingredients:
2 lbs sox wax chips
Optional: 1–2 oz fragrance oil
Optional: candle-safe dye
Optional: wick(s)
––––––––––––––
Instructions:
- Melt the Wax
• Place soy wax flakes in a pouring pitcher or double boiler.
• Heat gently to 170–180°F (77–82°C) until fully melted. - Add Frangrance and Dye
• Remove from heat and let cool slightly to 160°F (71°C) before stirring in fragrance and/or dye. - Insert Wicks
• Insert wick(s) and stabilize with wick holders.
• Bend the end of the wicks and align them with the ridges along the keycaps. Fold wicks back up after unmolding.* - Pour the Wax
• Slowly pour wax into mold to fill line (do not fill to the top of the mold) & tap to remove bubbles. - Cool and Demold
• Let cure at room temp for 4–6 hours or until fully hardened.
• Carefully unmold by pulling long sides outward.
*This mold fills from the bottom unlike most candle molds that fill from the top, so bend the wicks at a 90º angle and align it flat along the ridge between keycaps to hide the seam.
Medium Difficulty (very hot liquids*)
About 30 min prep / 2-3 hours to cool
Makes 4.5 cups total
––––––––––––––
Need:
Saucepan
Food Thermometer (up to 300º F)
Stove
––––––––––––––
Ingredients:
4 1/2 cups granulated sugar
1 1/2 cups light corn syrup
1 1/2 cup water
1–2 tsp flavoring extract
Neutral oil spray (to grease the mold)
Optional: Food coloring; gel or liquid
––––––––––––––
Instructions:
- Prep the Mold
• Lightly spray the inside of your mold with oil. - Cook the Candy
• In a heavy-bottomed saucepan, combine sugar, corn syrup, and water.
• Stir constantly with heat on medium or medium-high, until sugar is dissolved, then stop stirring — the mixture should go from cloudy to clear.
• This usually happens around 200°F / 93°C. - Stop Stirring After Dissolving
• Once the sugar is dissolved and the mixture is clear, stop stirring completely. - Boil to 300°F (hard crack stage)
• Bring to a boil undisturbed over medium-high heat until it reaches 300°F (hard crack stage). Stirring after this point can cause sugar crystals to form and ruin the texture.
• Immediately remove from heat. - Add Flavor & Color
• Wait until bubbling settles slightly (to avoid burning off flavor), then stir in your flavoring and color carefully — it may steam or sputter! - Pour Carefully
• Pour into the mold to fill line (do not fill to the top of the mold) while the mixture is still fluid.
• Work quickly but carefully — it hardens fast.
• It can be safer to transfer mixture into a pitcher with a spout to help make pouring easier and have less chance of spills. - Cool Completely
• Let the candy cool at room temperature for 2–3 hours until fully hardened.
• Do not refrigerate — can cause sweating/stickiness. - Unmold
• Gently flex the sides of the mold to separate candy from the mold.
• Turn upside down and pull the longer sides outward until candy comes out of the mold. - Clean-up
• Don’t Scrub — Just Soak. Fill the sticky pot with hot water (boiling or very hot tap water).
• Let it sit for 10–15 minutes — the hard candy will dissolve on its own.
* This recipe involves handling extremely hot sugar syrup (up to 300°F/149°C), which can cause serious burns if spilled or touched Wear heat-safe gloves and use caution when pouring. Attempt at your own risk.
Children should not attempt this recipe without adult supervision.
Medium/Hard Difficulty
About 15 min prep / 6-8 hours to cool
Makes 4 cups total
––––––––––––––
Need:
Stove
Refrigerator
Freezer
––––––––––––––
Ingredients:
1 cup sweetened condensed milk
2¼ cups whole milk (or half & half for richer texture)
¾ cup cold water (for blooming)
3 packets (7g each = 21g total) unflavored gelatin*
Neutral oil (for prepping mold)
Optional: ½ tsp vanilla extract (adds light flavor without affecting color)
Optional: Food coloring
––––––––––––––
Instructions:
- Prep the Mold
• Lightly coat the inside of your silicone mold with neutral oil (vegetable or canola).
• Blot with a paper towel to remove any excess — you want a thin, even film to keep as much detail as possible. - Bloom the Gelatin
• In a bowl, sprinkle 3 packets of gelatin evenly over ¾ cup cold water.
• Let sit for 5–10 minutes until fully bloomed (it will look like a thick gel). - Heat the Milk
• In a saucepan, heat up 1 cup of the whole milk until hot (do not boil).
• Remove from heat and stir in the bloomed gelatin until completely dissolved. - Mix the Base
• In a large bowl or pitcher, combine:
- Remaining 1¼ cups milk
- 1 cup sweetened condensed milk
- Optional vanilla extract & food coloring
- The warm milk + gelatin mixture
• Stir thoroughly until smooth and uniform. - Pour and Chill
• Slowly pour into the mold to fill line (do not fill to the top of the mold).
• Tap or vibrate mold to release any bubbles.
• Chill for 6–8 hours, or preferably overnight. - Unmold
• Take mold from refrigerator and put in freezer for 10-15 minutes.
• Submerge mold in hot water and let sit for 1-2 minutes.
• Loosen edges of the mold by pulling outward on all four sides of the mold until you see the gelatin disconnect from the mold. If needed, use a toothpick to help detach it.
• Invert onto a plate.
• Pull outward on the long sides of the mold to make sure the gelatin clears the arches in the mold. Give it a little shake. It may help to have a second person pull outward on the other two sides at the same time.
* Using Jell-O® brand gelatin is not recommended, as it typically won’t hold fine detail or unmold cleanly.
A condensed milk-based gelatin made with unflavored gelatin provides a firmer set that’s much better suited for detailed molds such as this.